Direct WebSocket connection
Create a room profile with the recording computer’s IP address, WebSocket port and password, then connect directly to OBS Studio.

Built at Eston College
ECO OBS Controller lets Eston College faculty and staff control OBS Studio from an Android phone or iPhone—start, pause and stop class recordings, manage audio and move between prepared scenes without returning to the recording computer.
Designed for dedicated Eston College computers and recording hardware.
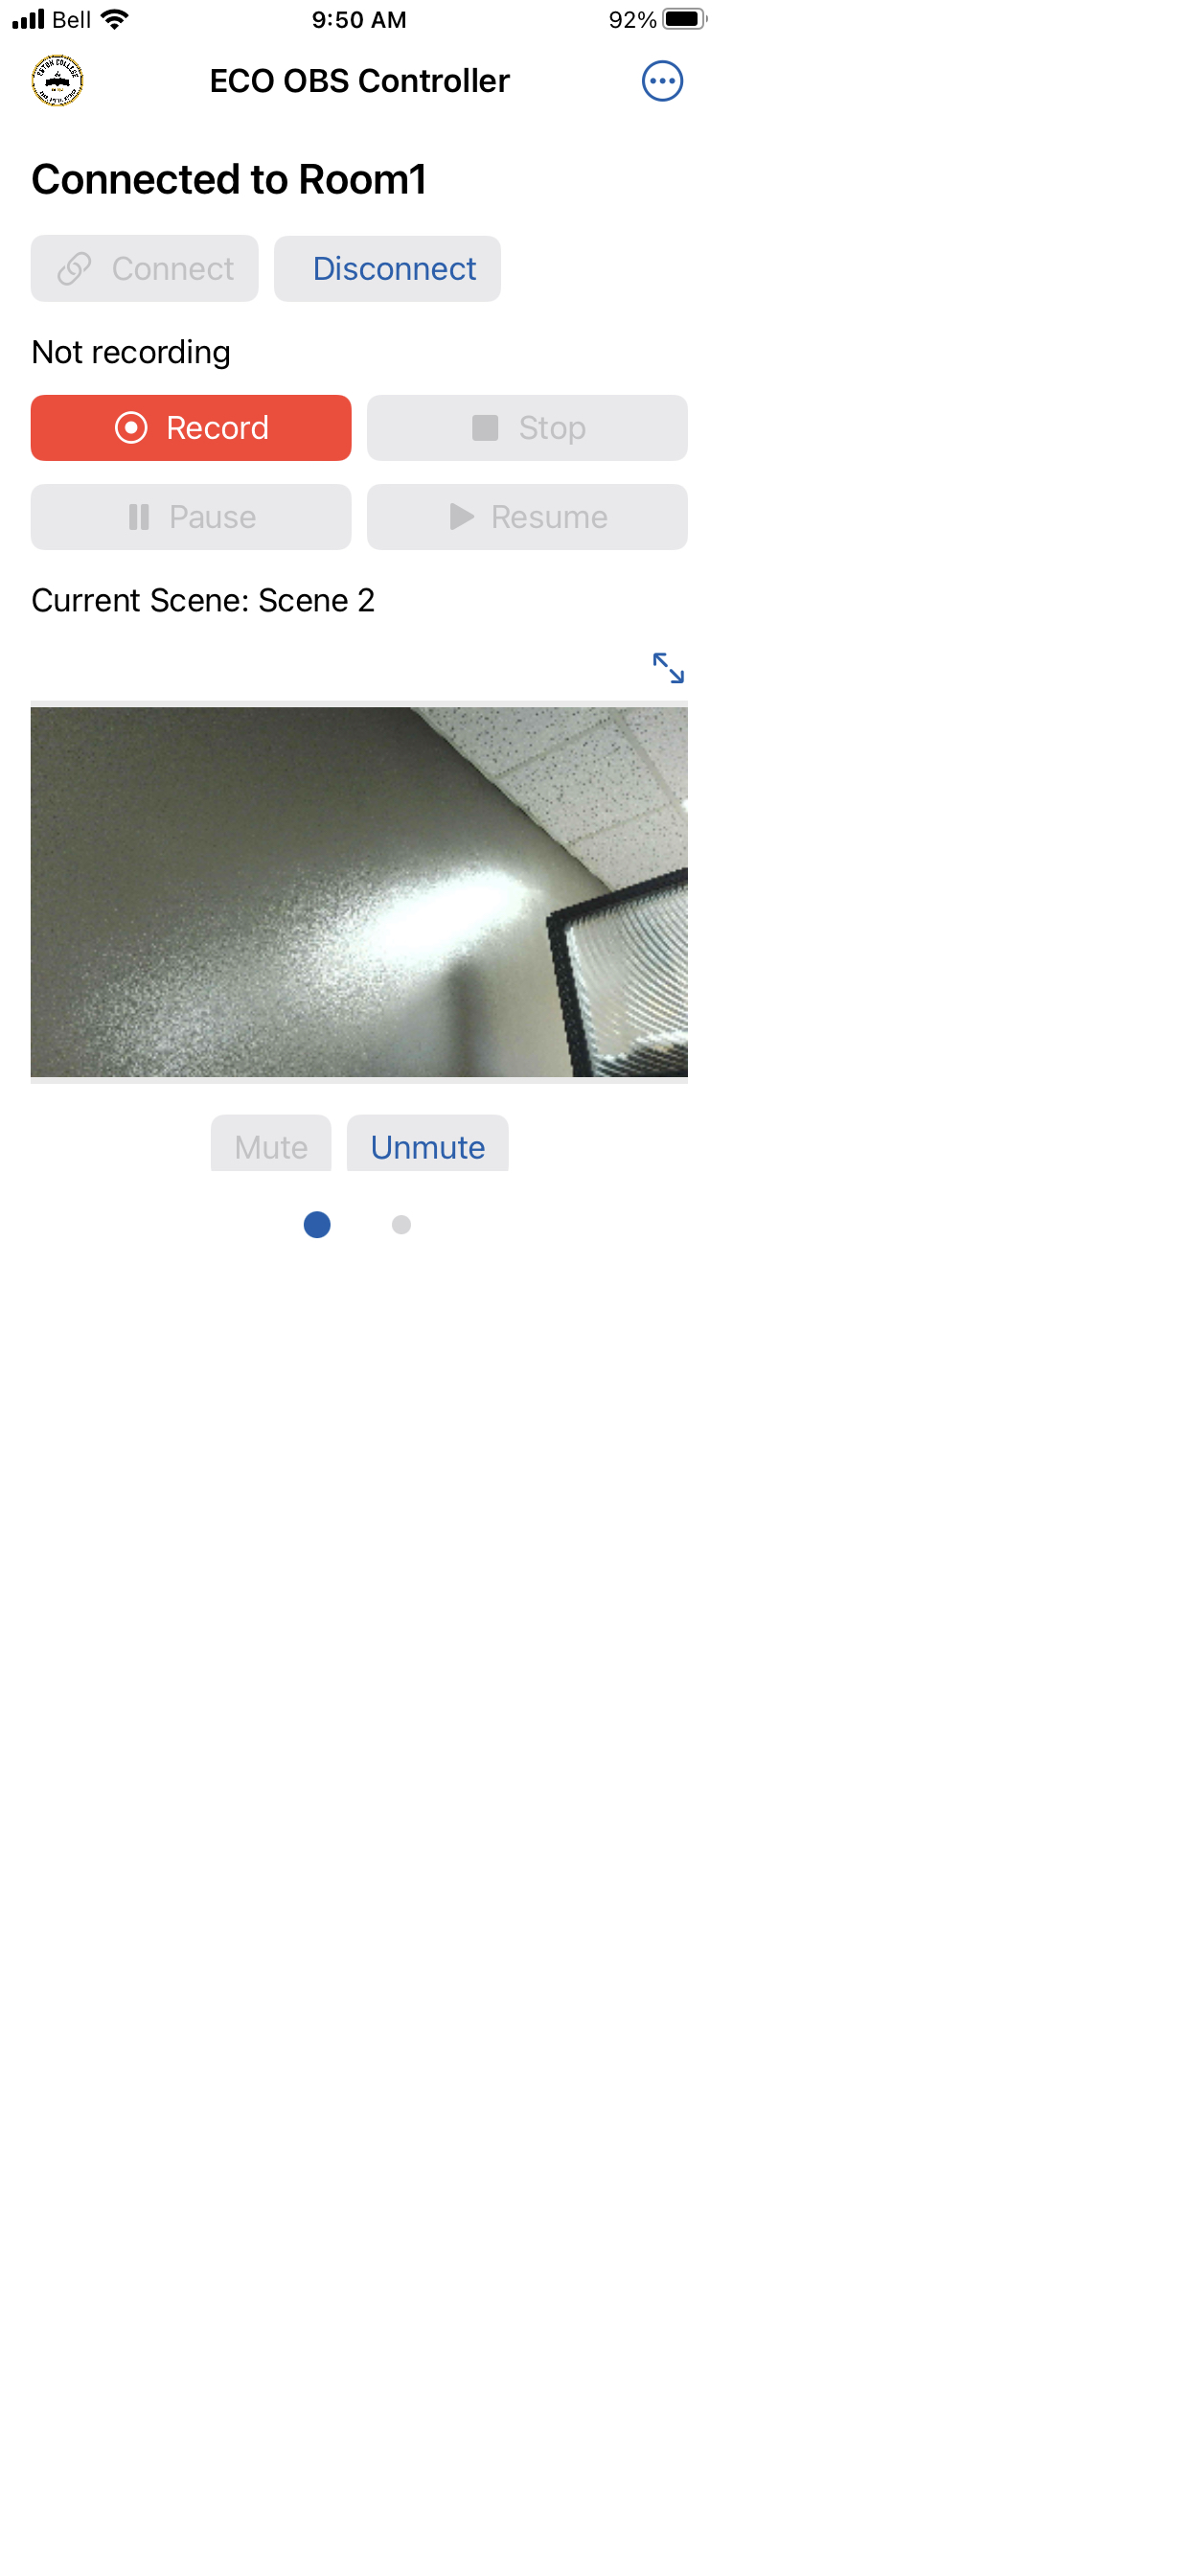
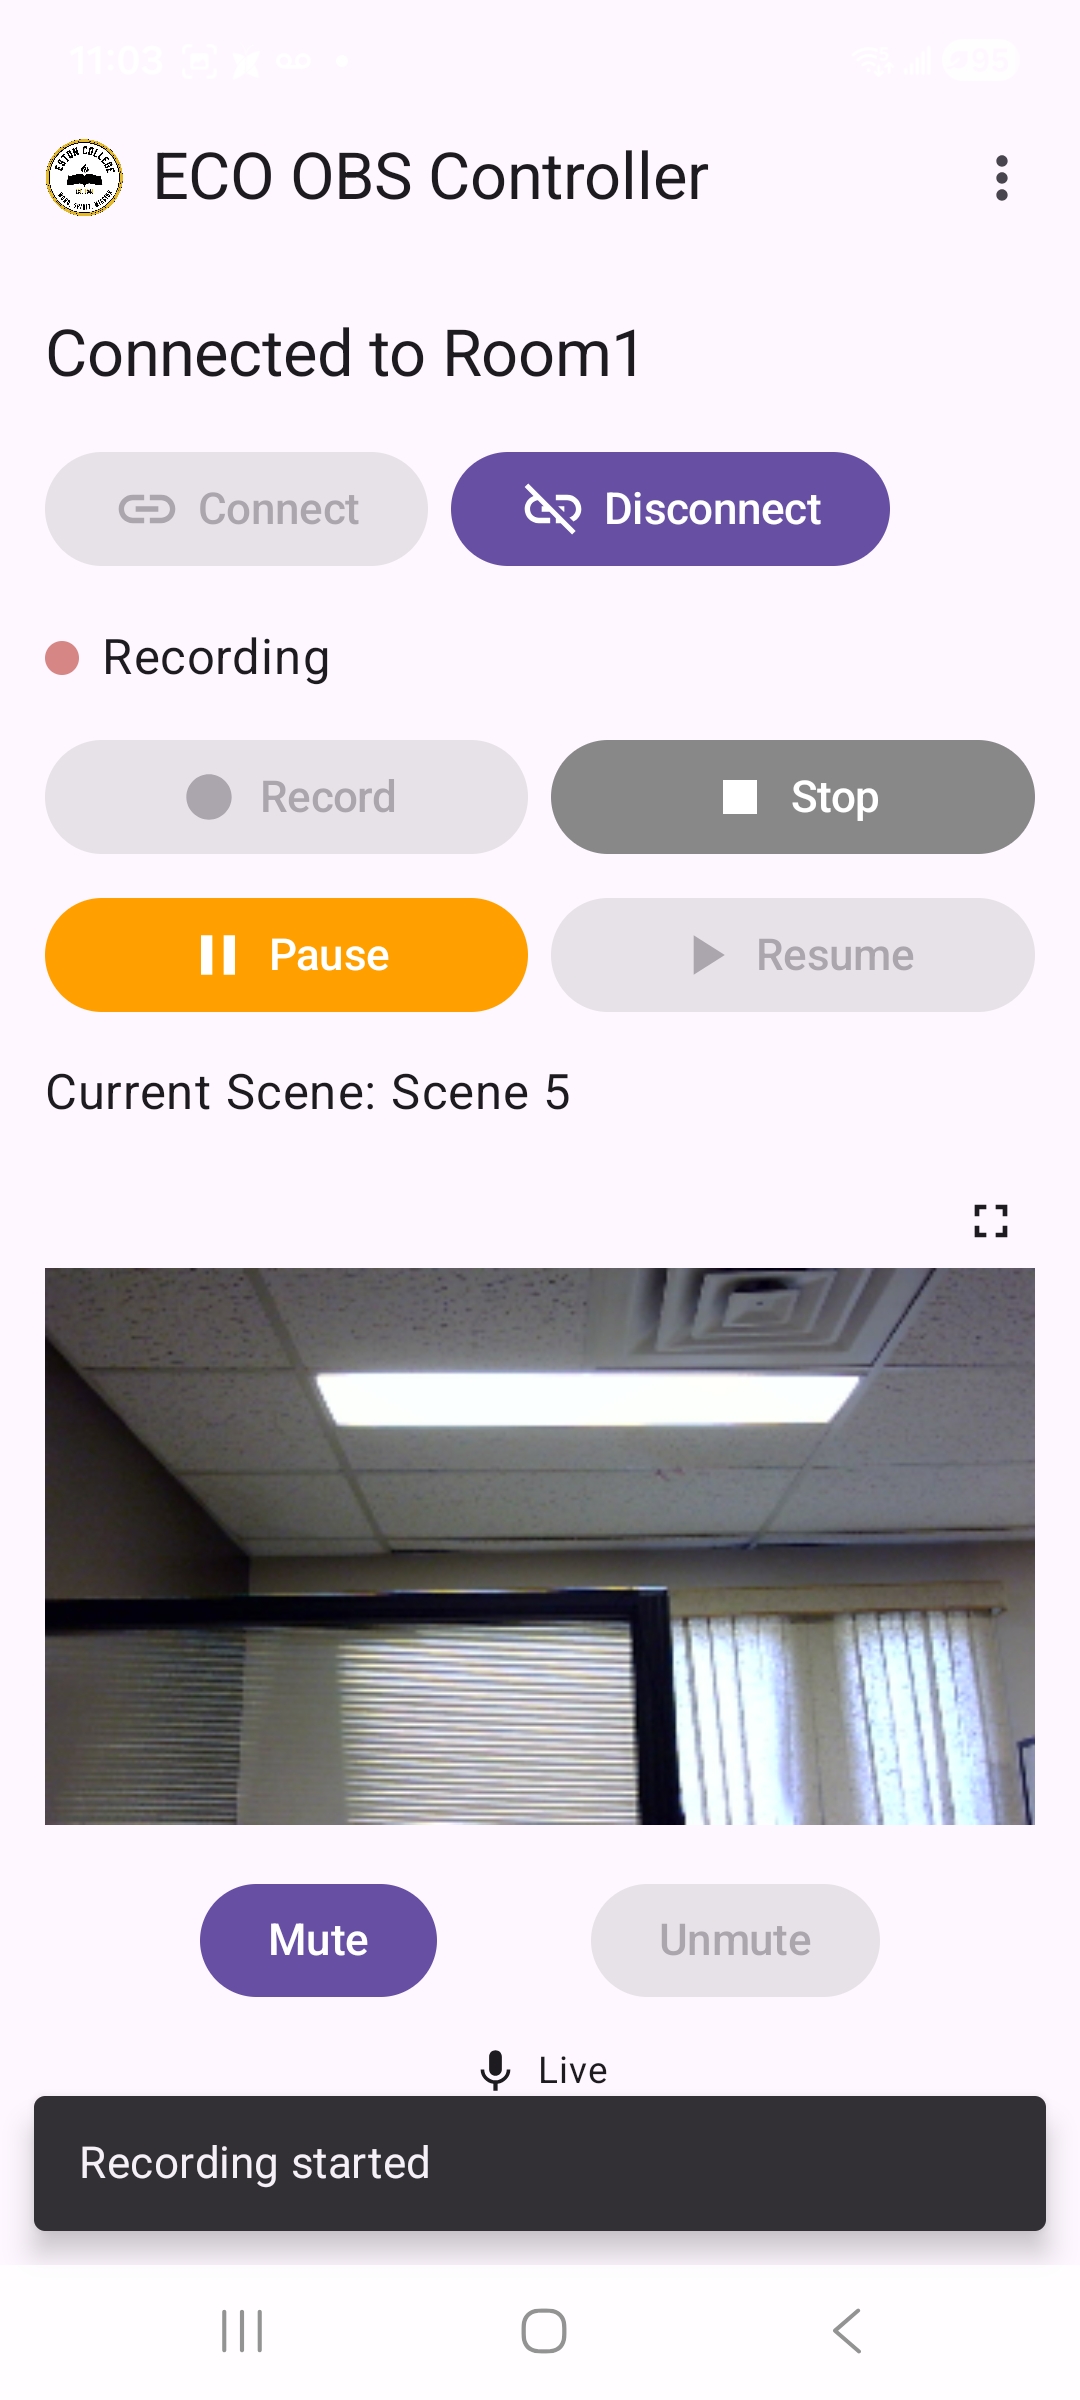
One compact controller
The app keeps the controls instructors use most within reach while OBS Studio continues recording on the dedicated classroom computer.
Create a room profile with the recording computer’s IP address, WebSocket port and password, then connect directly to OBS Studio.
Start and stop a class recording from the phone, with clear live status so you always know what OBS is doing.
Pause for breaks or private discussion and resume the same recording when the class is ready.
Browse the scenes already prepared in OBS, preview the selected source and set it as the current program scene.
See the current classroom view on your phone and confirm the active scene before or during recording.
Mute or unmute the recording scene from the same screen while a simple status label confirms the audio state.
Before you connect
ECO OBS Controller communicates with the copy of OBS Studio running on the classroom recording computer.
Quick start
These screens show the Android workflow. The same core controls are available on iPhone.
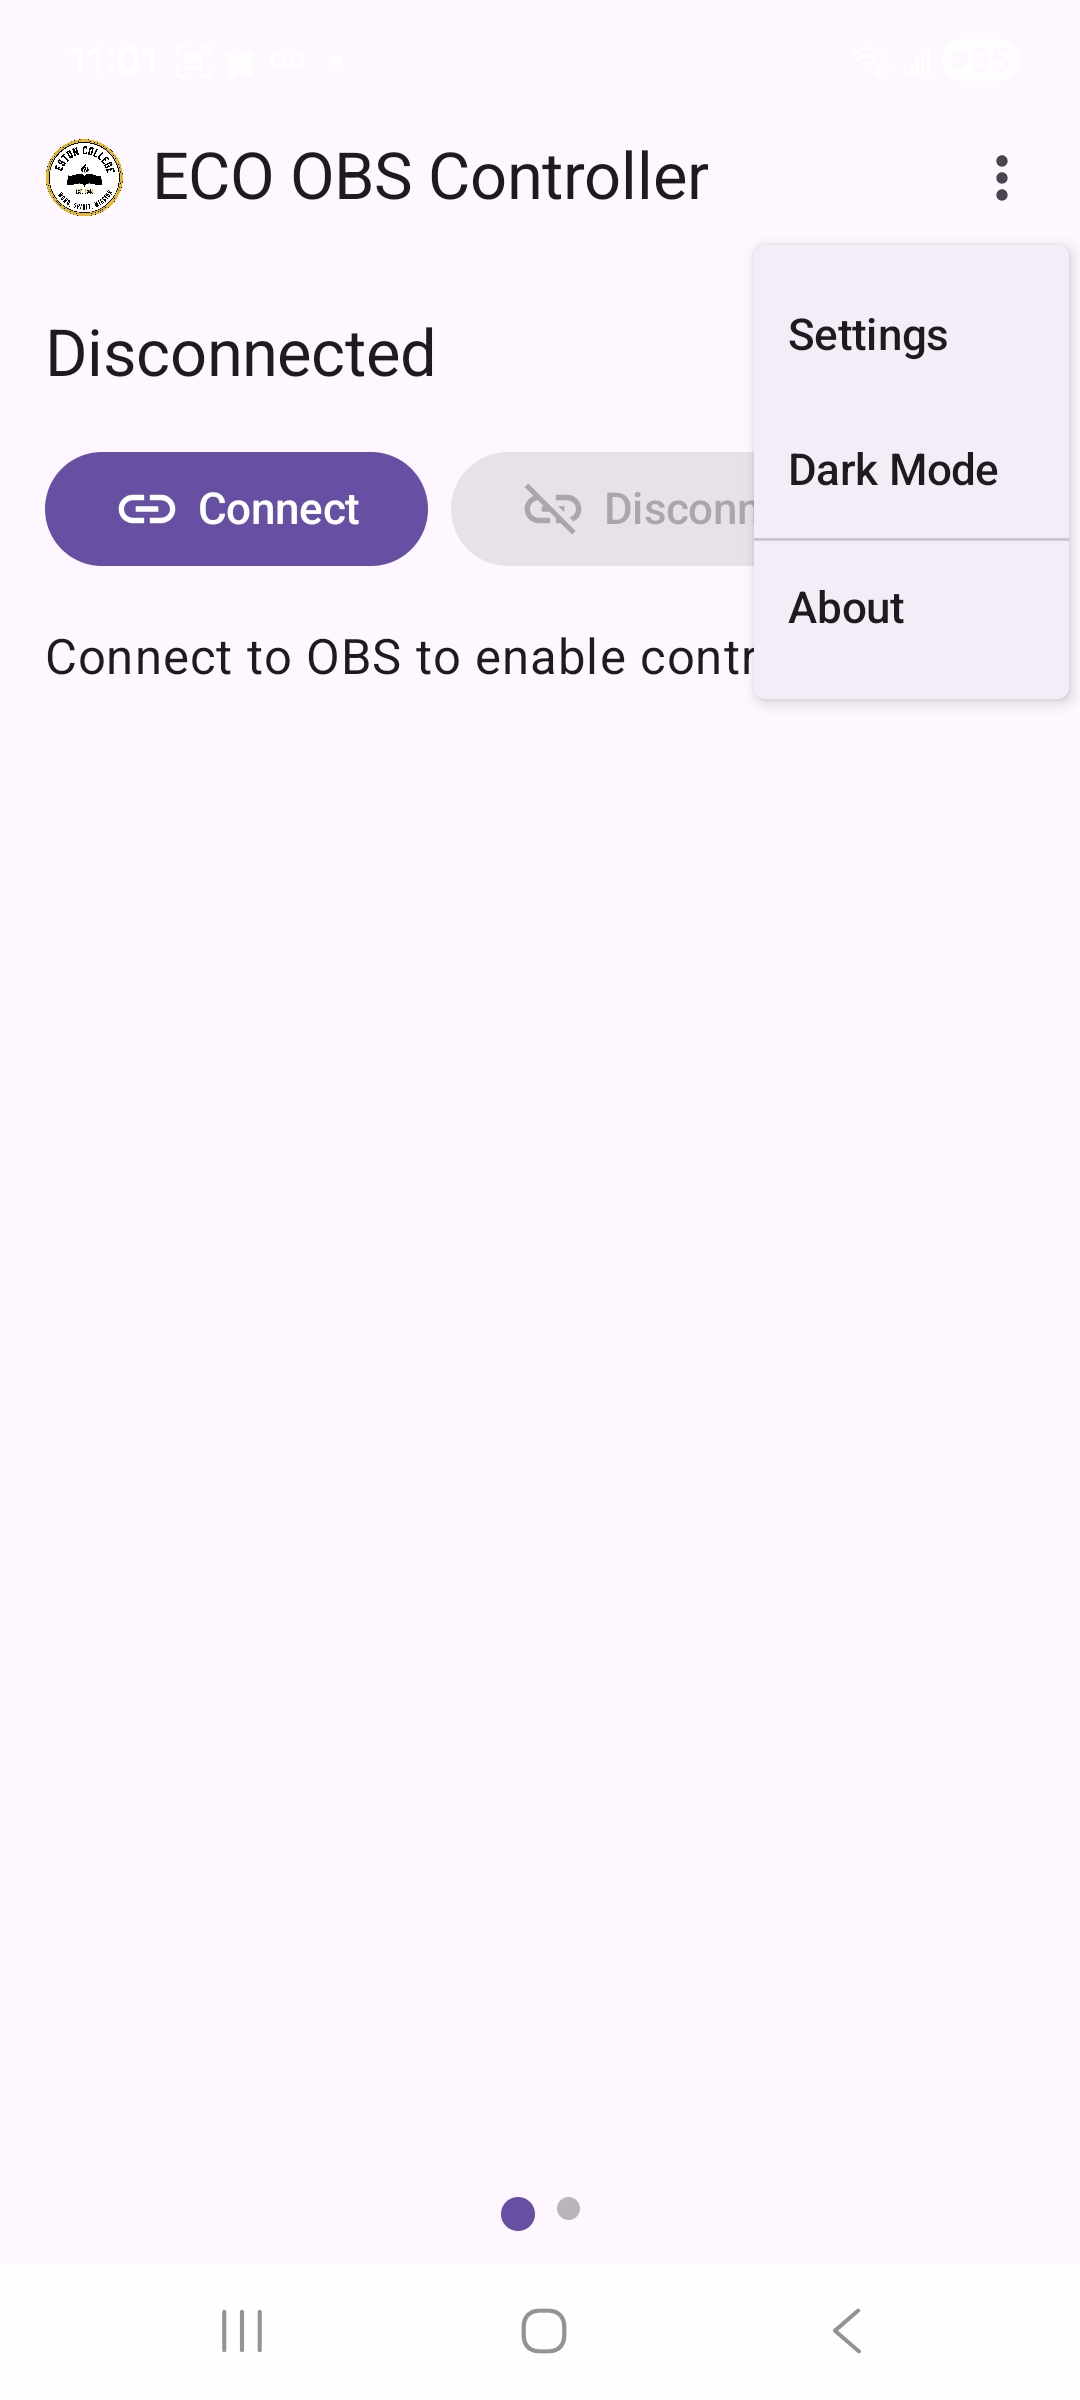
Launch the app, open the three-dot menu and select Settings. The controller remains disconnected until a recording-room profile is selected.
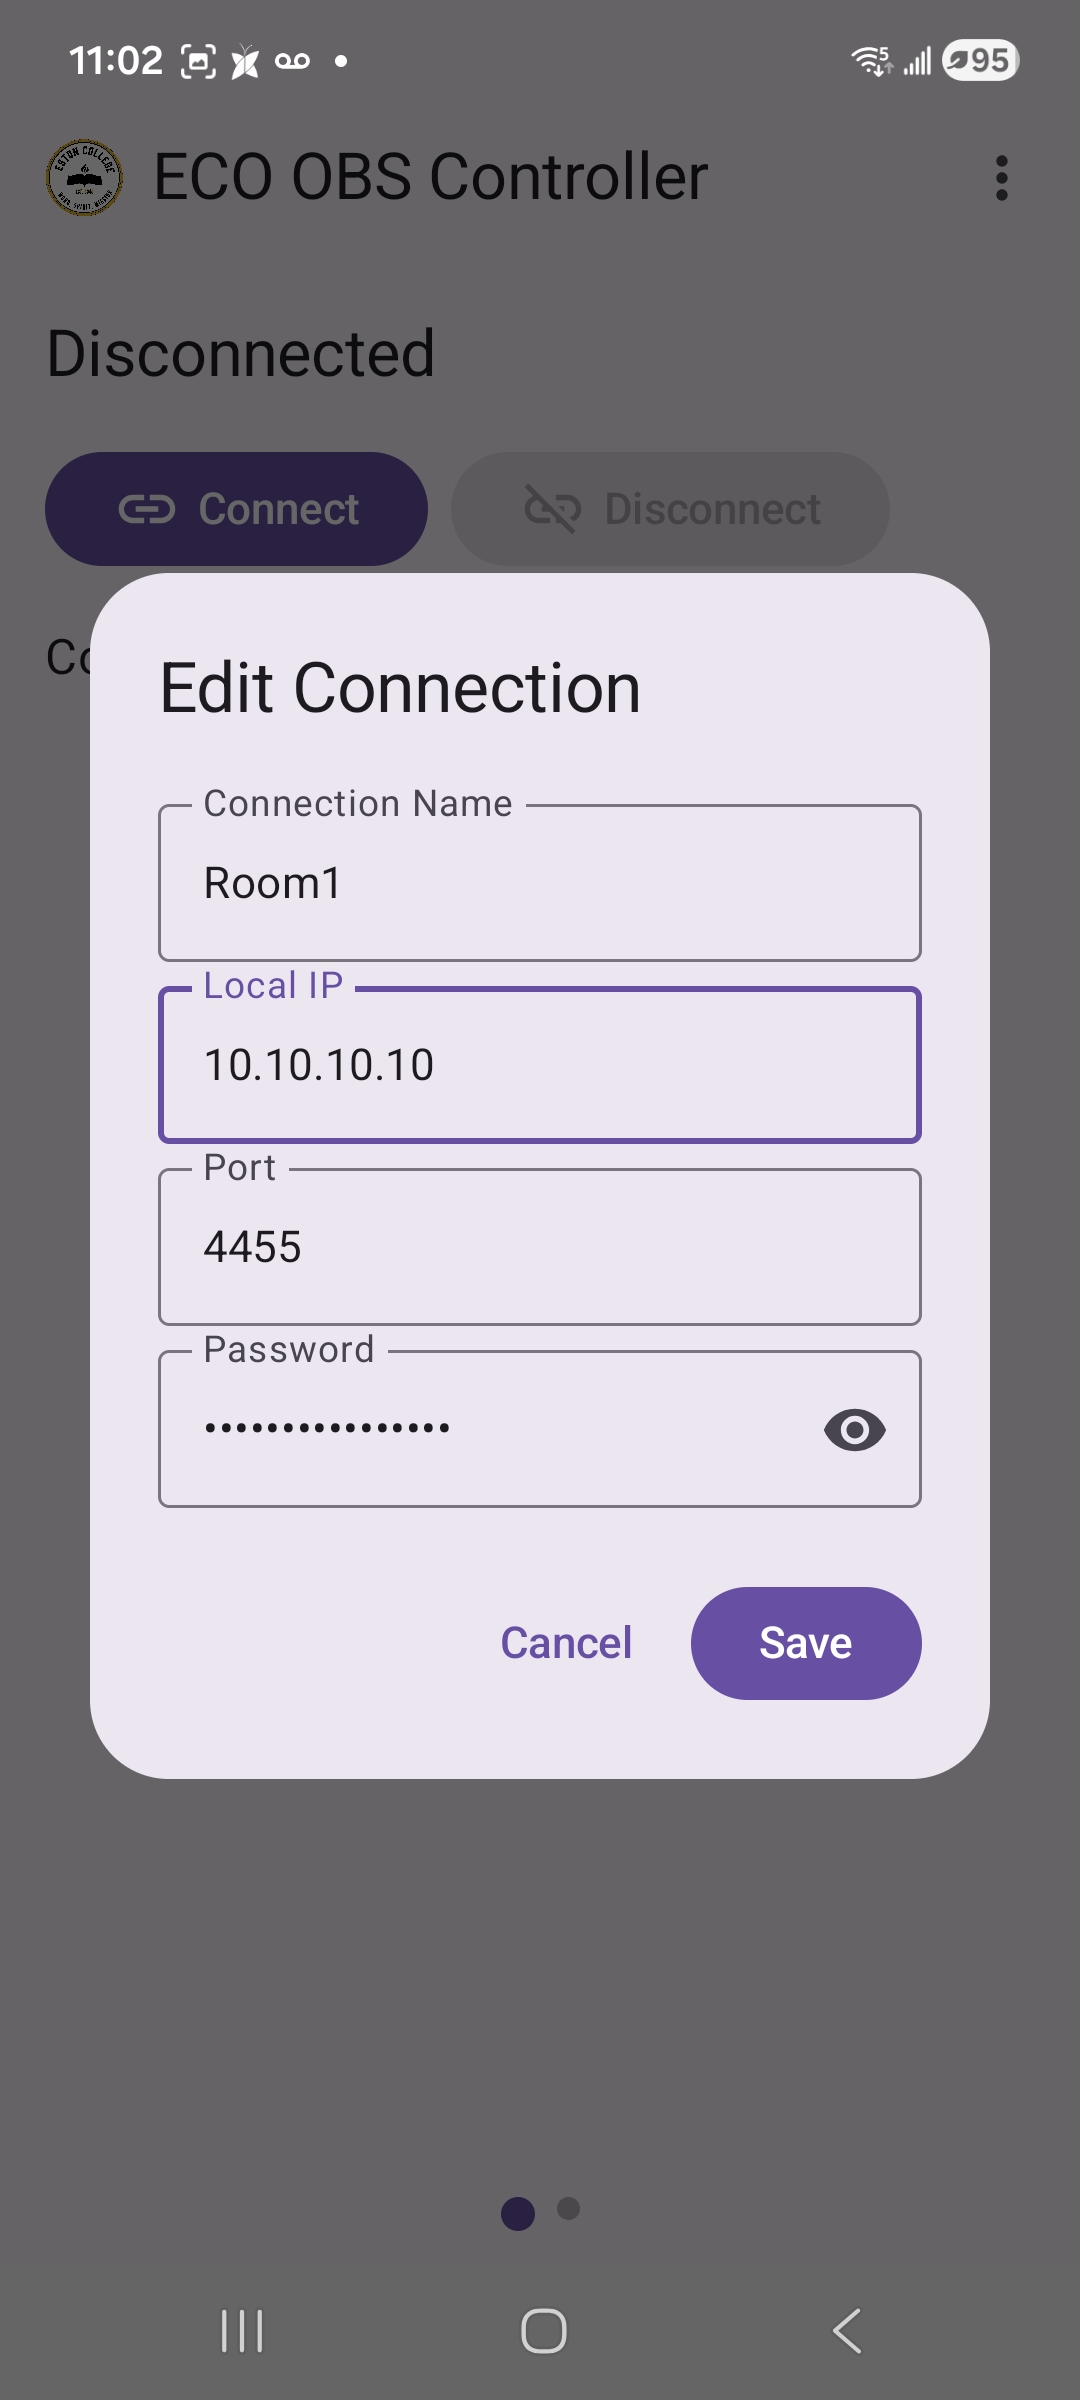
Select Add, name the connection, then enter the local IP address, WebSocket port and password configured in OBS Studio. Save the profile for later classes.
Use only connection details supplied or approved by Eston College technical staff.
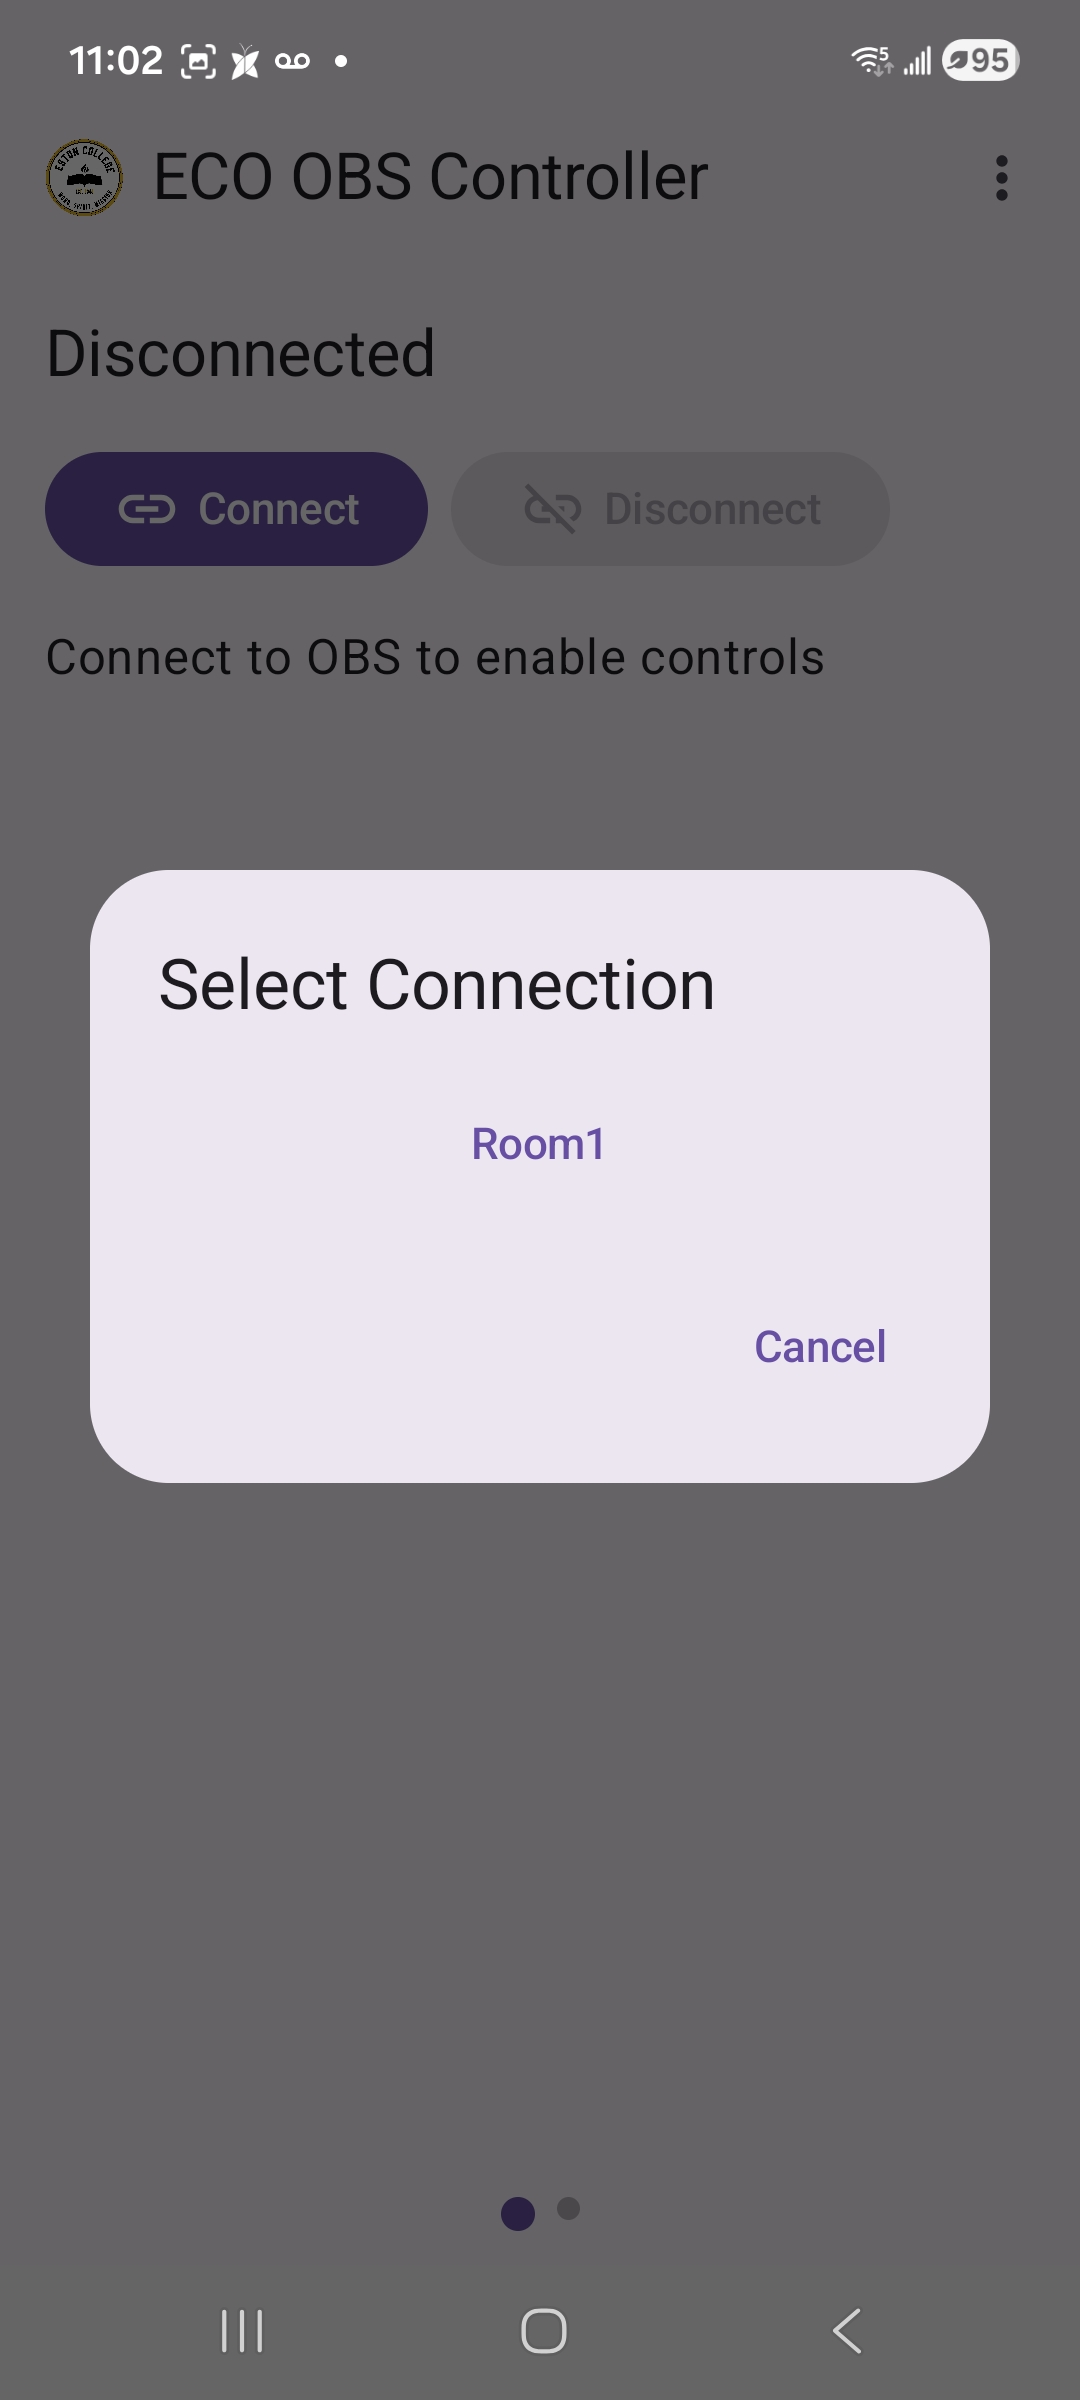
Tap Connect, select the correct room and wait for “Connected” to appear. If it does not connect, confirm that OBS Studio is open and its WebSocket server is enabled.
Tap Record to begin. While recording, use Pause for a temporary break, Resume to continue, or Stop to end the recording. The status text and coloured buttons reflect the current state.
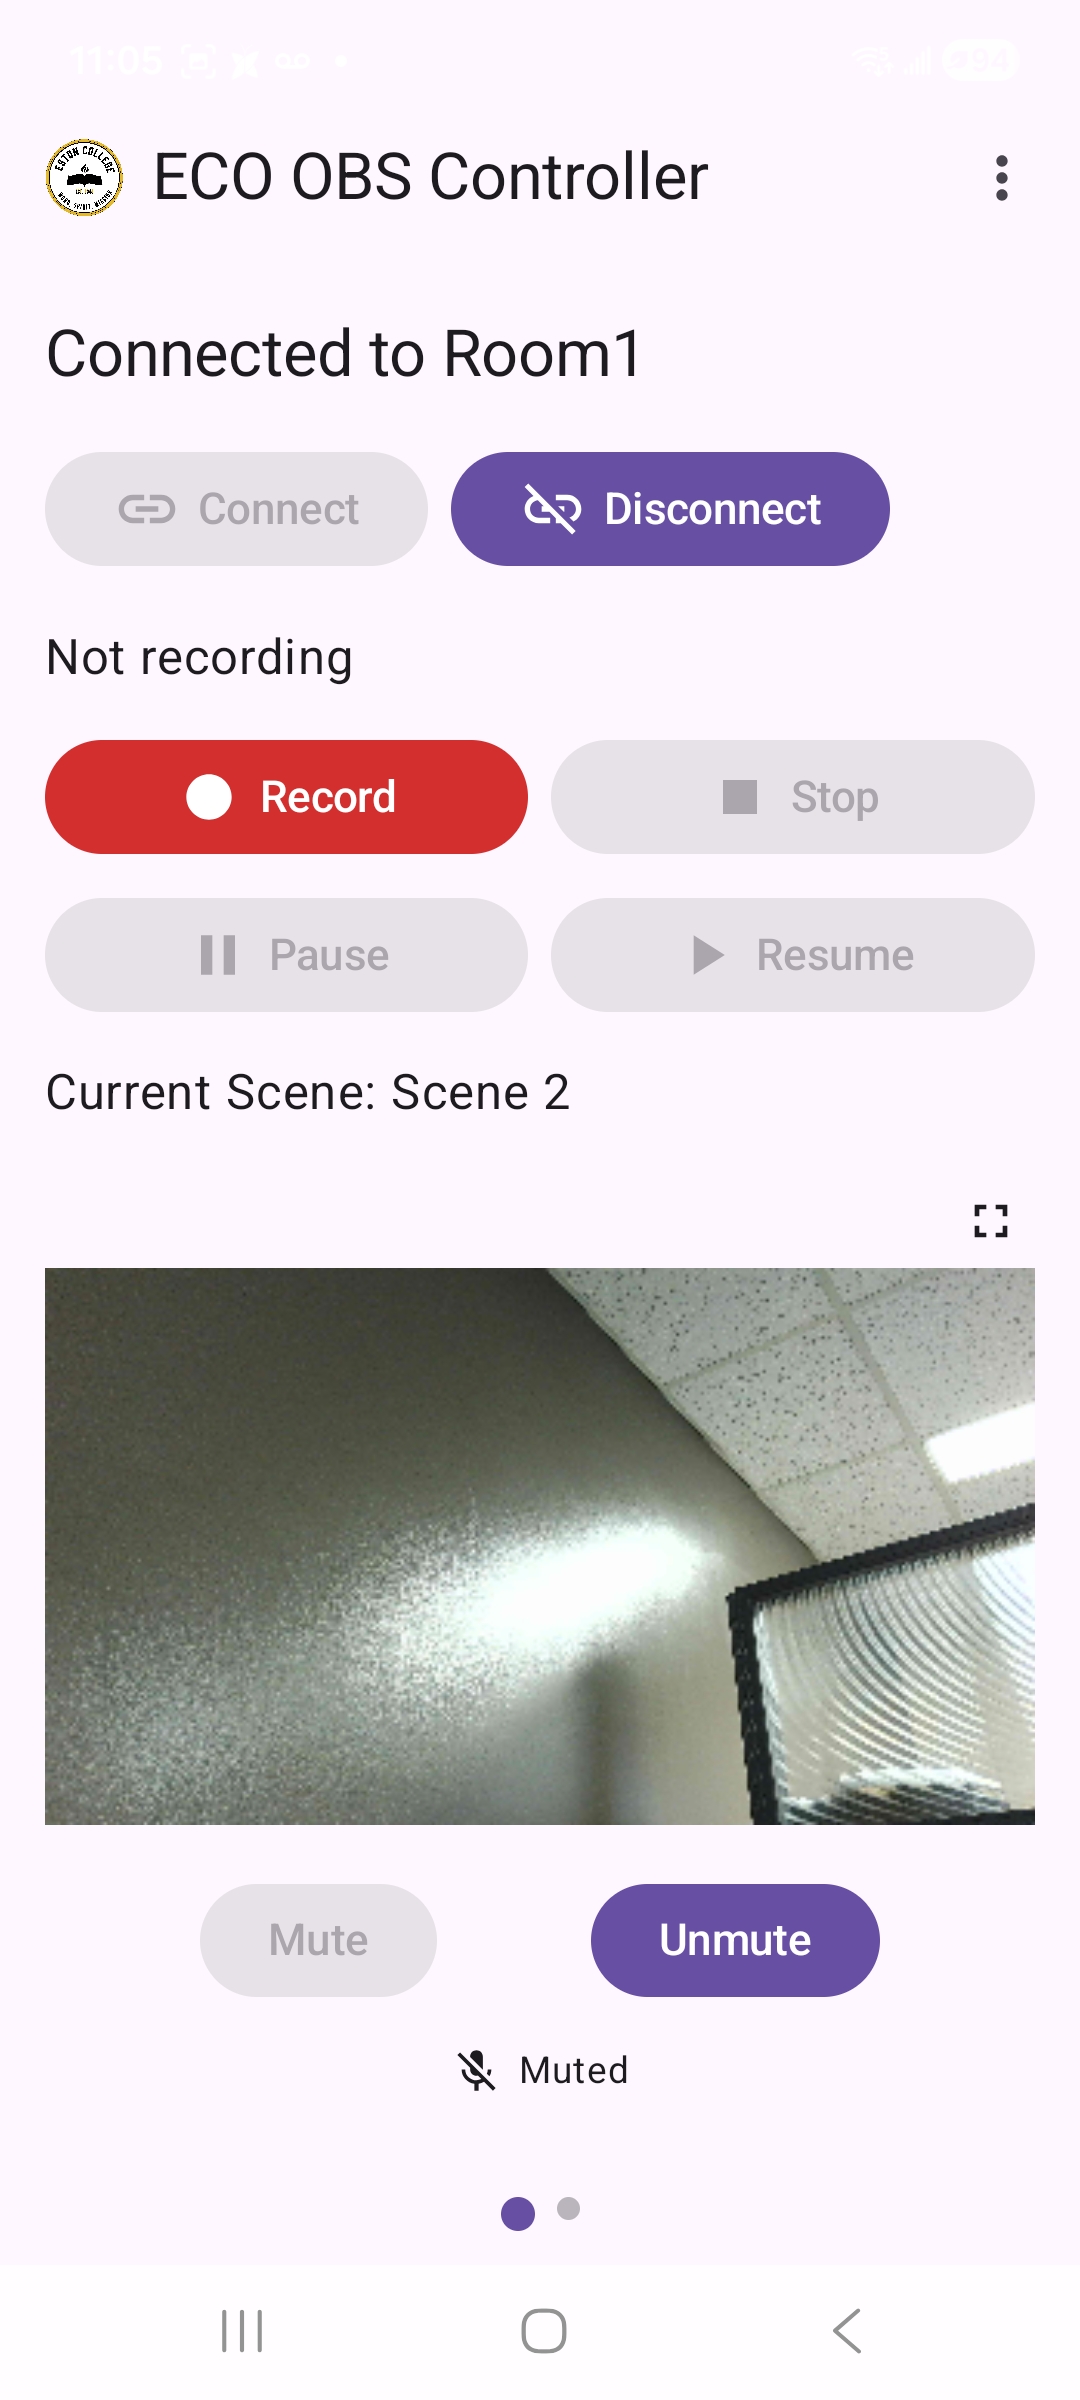
Choose Select Scene, pick a prepared OBS scene and set it as the current program scene. Use the preview to confirm the view, and mute or unmute scene audio when needed.
Changing the current program scene changes what OBS records. Confirm the preview before continuing.
App walkthrough
Select any screenshot to view it at full size.
Contact ECO OBS Controller support for connection or recording assistance.